
You can easily create a membership directory custom collection, in three easy (sort of easy) steps:
- Create a custom collection form
- Add some data into your collection
- Create a custom collection page, and paste in the page code
Create a custom collection form
Go to Settings -> Custom Collection, and add a custom collection.
Note: it is important that you use these exact field types and names so that everything will function properly.
Name the directory "Directory".
Add the following fields:
| Type: | Name: |
| Image | Image |
| Name | Name |
| Address | Address |
| Phone | Phone |
Before you save the form, you'll need to enter some data into the "Settings" tab:
- HTML Identifier: directory
- Icon: It is your choice but we recommend: glyphicons-group
- Singular name: Membership
- Title field: None
- Featured image field: None
- API Access: None
Now, you can save the custom collection.
Add some person data into your collection
You will now see this new custom collection in your dark gray Admin sidebar on the left side of the screen. Find the new "Directory" option with the icon you selected and click it to go to your new collection.
As you saw with the examples of the fields above, you will need a photo and some data about each person to be in the Directory Collection. Using the blue "Add Membership" button at the top right, add several people into your collection. This will be important before proceeding so that we will have something to view when we are done with the next section.
You can use sample (fake) people for now if you wish. Once you've added two or three people you are ready to move to the next section.
Create a custom collection page, and paste in the page code
Now decide where you want the Membership Directory page to be accessible to your visitors. You can navigate to the parent page, and then click "Create" in the upper right corner of the bright blue top bar of your website to make a new child page at that location.
- Add a new page.
- Choose the "Collection" page type.
- Select the layout you want to use for the page.
- Add a descriptive title like "Membership Directory".
- Select the "Directory" custom collection.
- As you move your mouse over the editable areas notice the "Edit Layout" and Edit Collection Items" button will display. Select the "Edit Layout" button.
- Paste the code bellow into the edit area provided.
- Click the blue "Save" button.
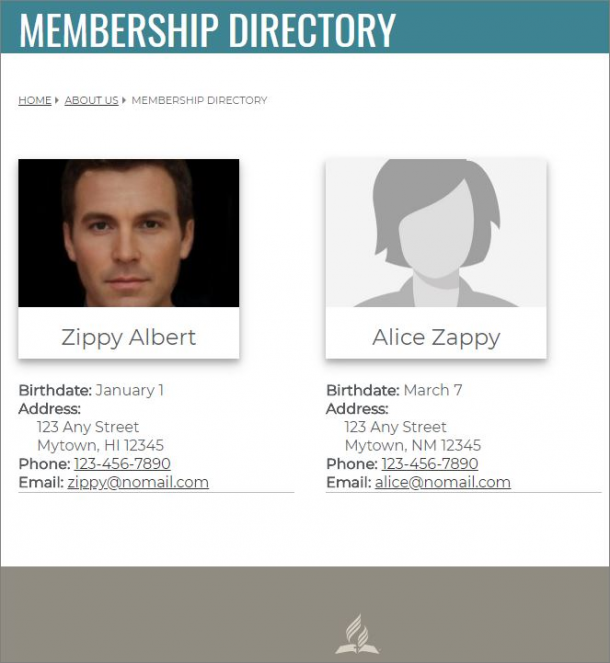
- Finally, click the Publish button to view your new Directory.
<style>
    .polaroidimg {
        width: 80%;
        background-color: white;
        box-shadow: 0 4px 8px 0 rgba(0, 0, 0, 0.2), 0 6px 20px 0 rgba(0, 0, 0, 0.19);
        margin-bottom: 25px;
    }
    .polaroidimg h3 {
        text-align: center;
        padding: 10px 20px;
        margin-top: 10px !important;
    }
	.directory-entry {
		margin: 15px 30px 15px 0;
		width: 300px;
		max-width: 100%;
		display: inline-block;
		vertical-align: top;
		border-bottom: 1px solid #bbbbbb;
		margin-bottom:20px;
	}
	.addressindent {
		padding-left: 20px;
	}
	.boldit {
		font-weight: bold;
	}
</style>

{% for membership in su.collection( "directory" ).sort( "name.last" ) %}
    <div class="directory-entry">

	   <div class="polaroidimg"><img src="{{ membership.image.fill( 269,180 ) }}" width="100%"/>
           <h3>{{ membership.name.first }} {{ membership.name.last }}</h4>
       </div>
	   <div><span class="boldit">Address: </span><div class="addressindent">{{ membership.address.address }}</div>
	   <div class="addressindent">{{ membership.address.city }}, {{ membership.address.state }} {{ membership.address.zip }}</div></div>
	   <div><span class="boldit">Phone: </span><a href="tel:{{ membership.phone }}">{{ membership.phone }}</a></div>
	   <div><span class="boldit">Email: </span><a href="mailto:{{ membership.email }}">{{ membership.email }}</a></div>
    </div>
{% endfor %}